Step 2 — Upload Anonymized Studies
In this step, the user uploads selected anonymized DICOM series and the matching anonymized clinical metadata to the selected ZODIAC archive. Only anonymized data selected by the user is transmitted to the platform.
-
Select a Target Archive on the platform.
-
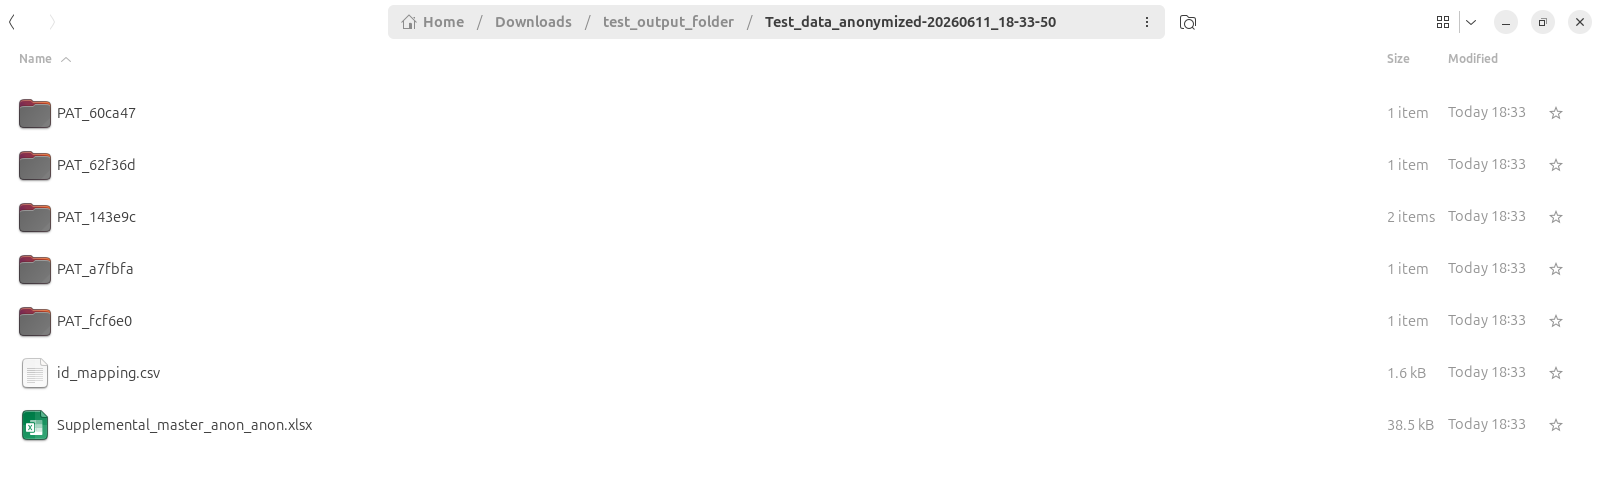
Select the Anonymized Root Folder, which is the local output
folder created during Step 1. This folder contains the anonymized DICOM files
and, if provided, the anonymized clinical data file.
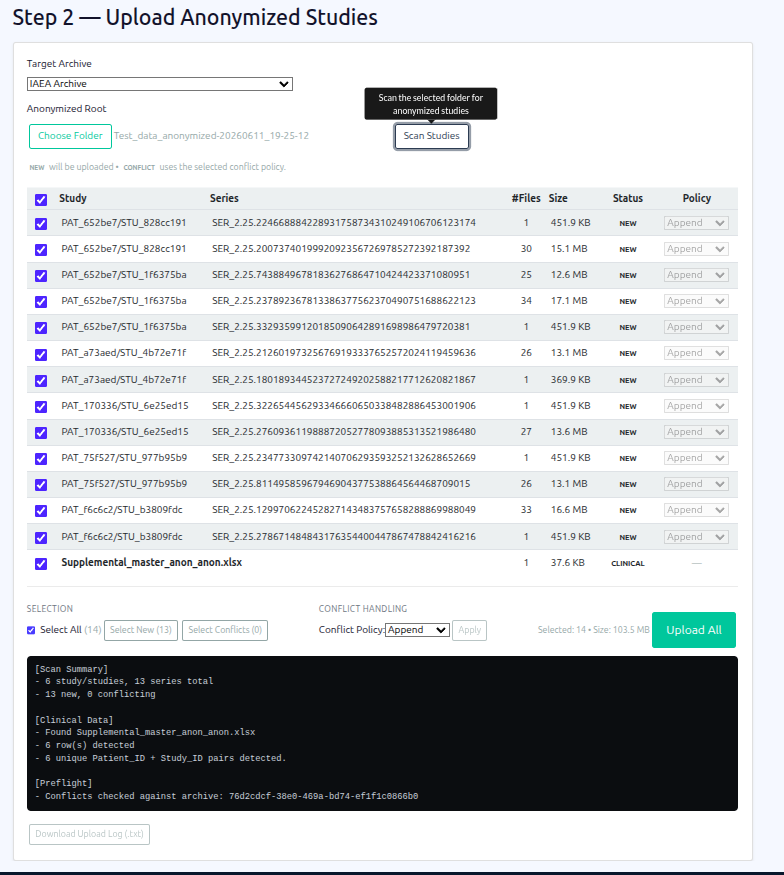
- Click "Scan Studies". The tool scans the local anonymized output folder, reads the anonymized DICOM metadata, detects patient/study/series groups, identifies the anonymized clinical file if present, and checks for possible archive conflicts.
-
A table appears showing each detected anonymized study and series with:
- Status (
NEWorCONFLICT) - Number of files and total size
- Selection checkbox
-
Conflict policy option
(
Append,Overwrite, orSkip)
If an anonymized clinical file is detected, it is shown as a separate clinical metadata row. Clinical rows are matched to DICOM studies using the combination of
Patient_ID + Study_ID. The sameStudy_IDmay appear for different patients.
- Status (
- Review the detected data, resolve any conflicts, and select the DICOM series and clinical metadata to be uploaded.
-
Click "Upload All". Only the selected anonymized DICOM series
and the matching anonymized clinical metadata are transmitted. During upload, the
platform attaches the relevant clinical row(s) to the corresponding
Patient_ID + Study_IDgroup.
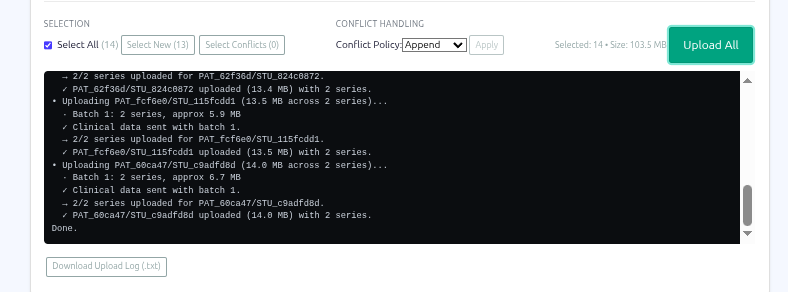
- Upload progress and results are shown in the upload log. The log is downloadable for local review and audit purposes.
Local mapping or traceability files generated during Step 1 remain under the control of the participating institute and must not be uploaded to the ZODIAC platform.